Tap into Possibilities
BEVERAGE DISPENSING SOLUTIONS
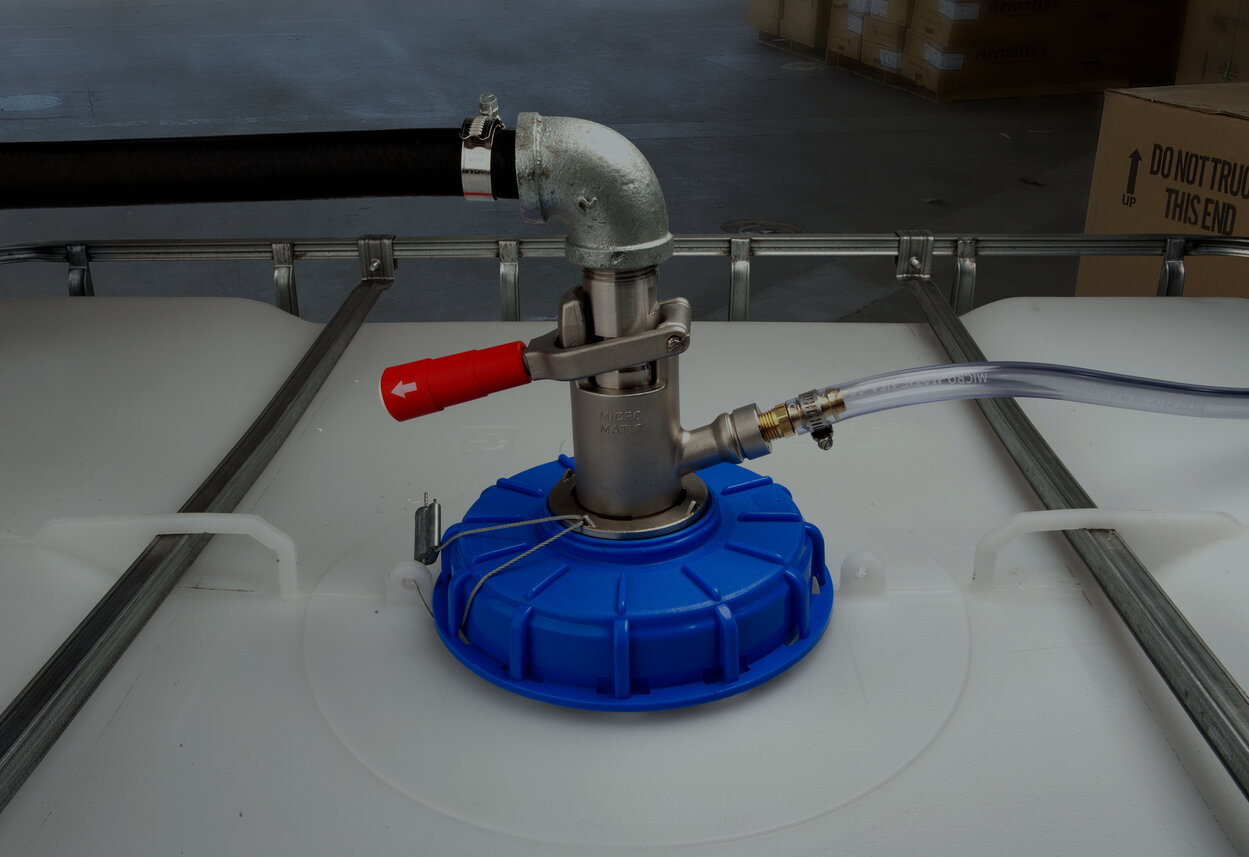
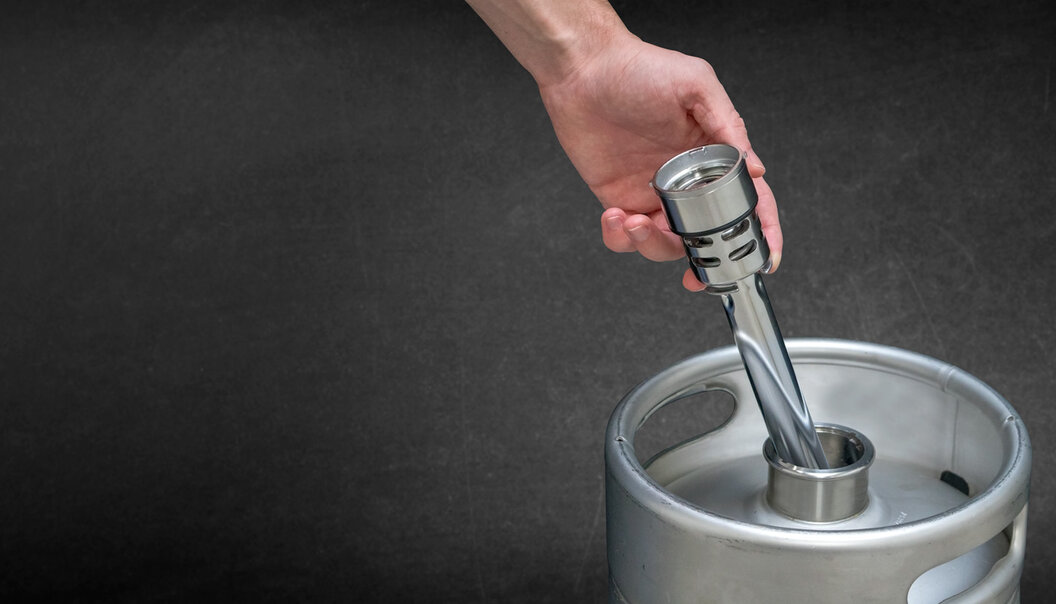
For over 70 years, Micro Matic has been the global leader in beverage dispensing solutions, serving customers in 120+ countries. With industry-leading dispense technology, we design and engineer draft systems for everything on tap—ensuring optimal performance, efficiency, and quality in every pour. Let us craft the perfect draft system for you!